
Dragon frame DMX Lighting Tests


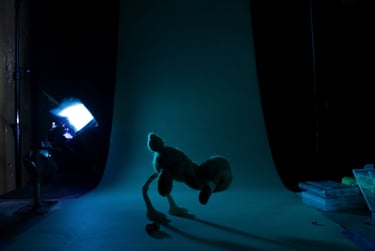
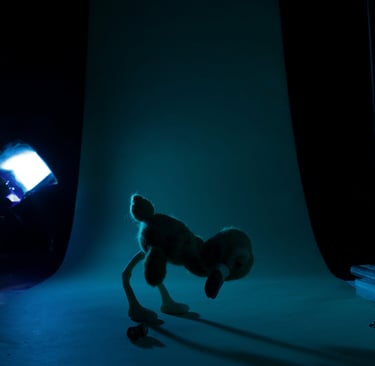
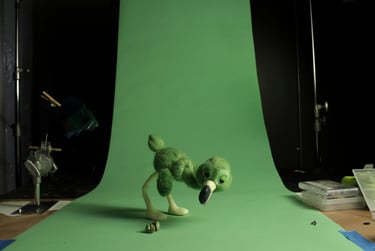
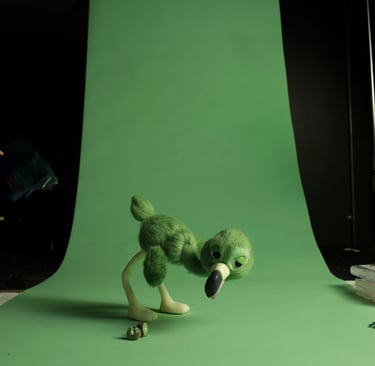
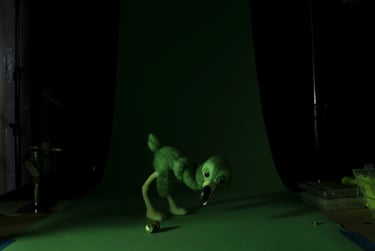
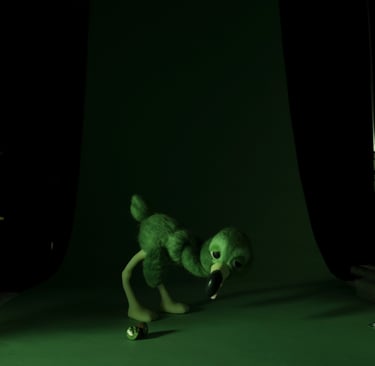
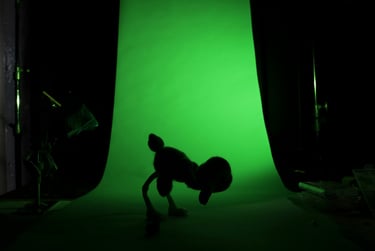
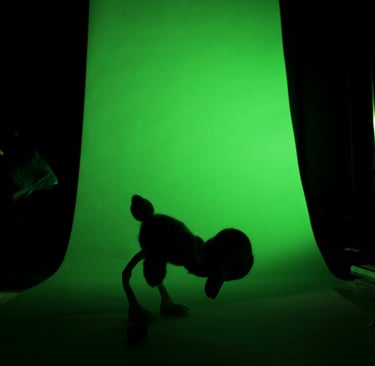
During my time at SCAD's stop-motion studios, I researched DMX workflow for stop-motion. I was responsible for budgeting, researching, and selecting all the necessary materials for us to be able to run simple DMX setups in the studio. When all the materials arrived, I put my research to the test by conducting several quick tests with the features. These tests were later put to use in a few shots for Moticos, as well as other useful techniques such as setting up bash lights and double exposures.


All tests were done using the DDMX 512 controller and Fiilex P3 color Fixtures. Chanel charts and simple lighting plots were used to keep track of the system. All animation was done using the Dragon Frame software DDMX workspace.
Moticos Camara moves


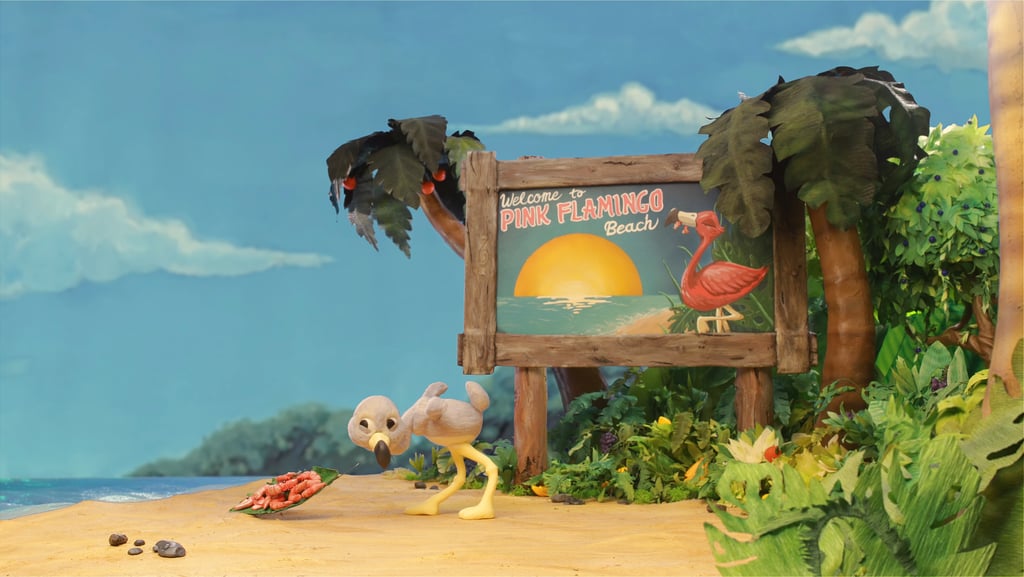
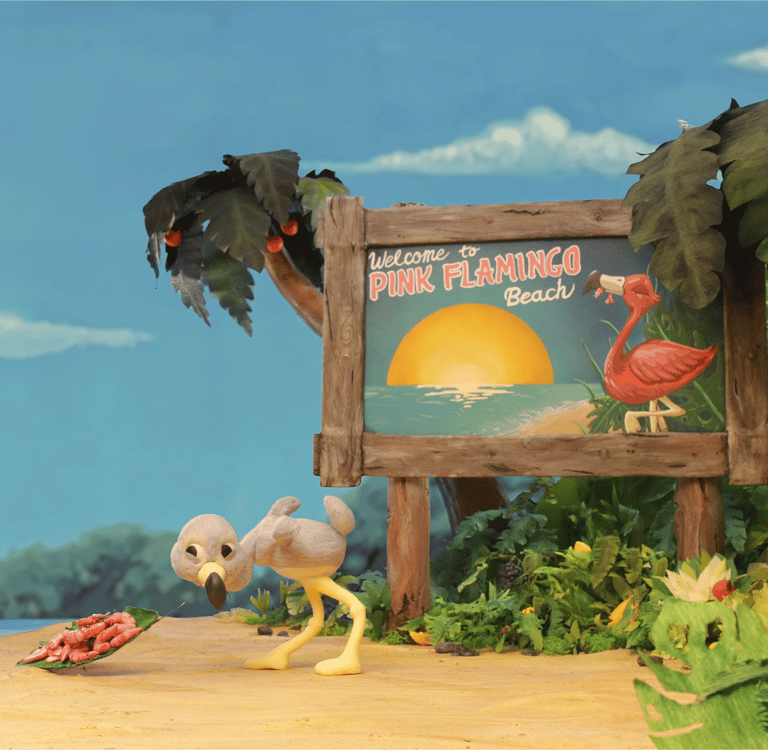
Most of the camera moves in Moticos were done using physical rigs rather than digital movements to create a more authentic feeling. I was responsible for planning out, setting up, and polishing both of these shots. Since our studio does not have a motion-controlled camera rig, the position of the camera was adjusted frame by frame in time with the actual animation. This was made possible through the use of a magnetic scale, which would indicate the distance traveled by the camera from a set starting position. Using these measurements, I mocked up the camera moves in Autodesk Maya to create a perfect distribution of the distance over time, creating smooth ease ins and outs for each of the shots.
Pink is not that Shrimple
Key Light
Fill Light
Rim Light
Background Light
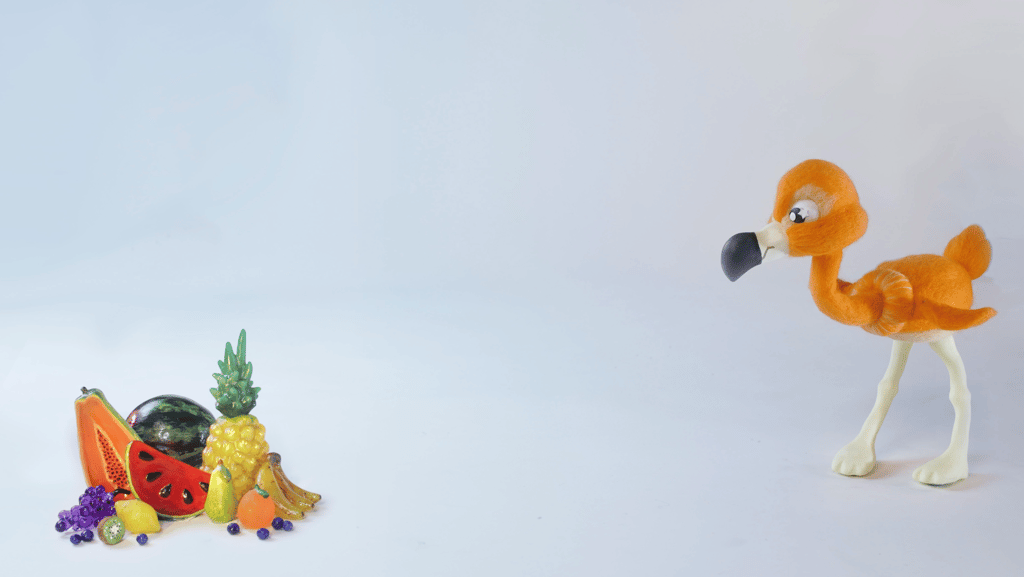
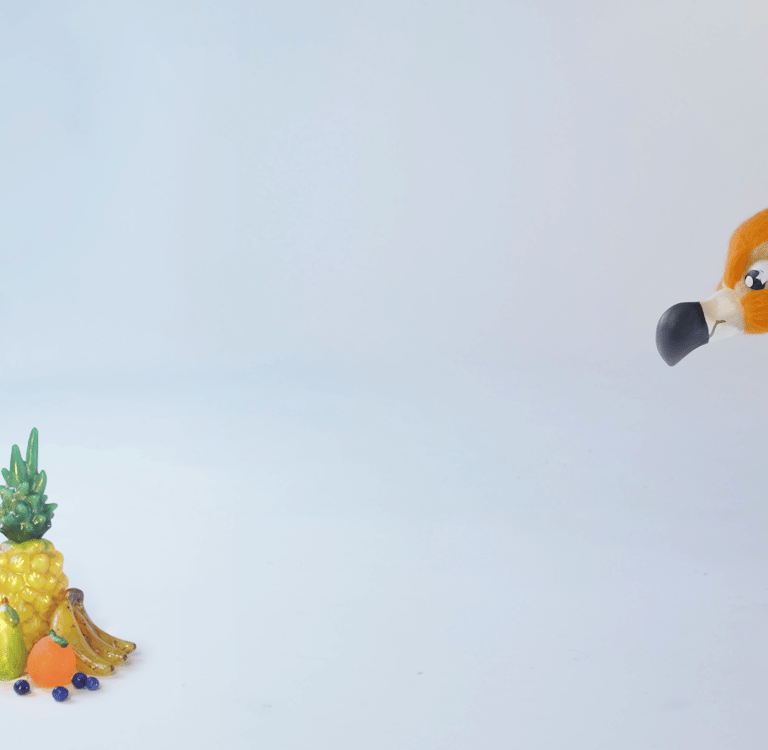


Moving shadows Rigging
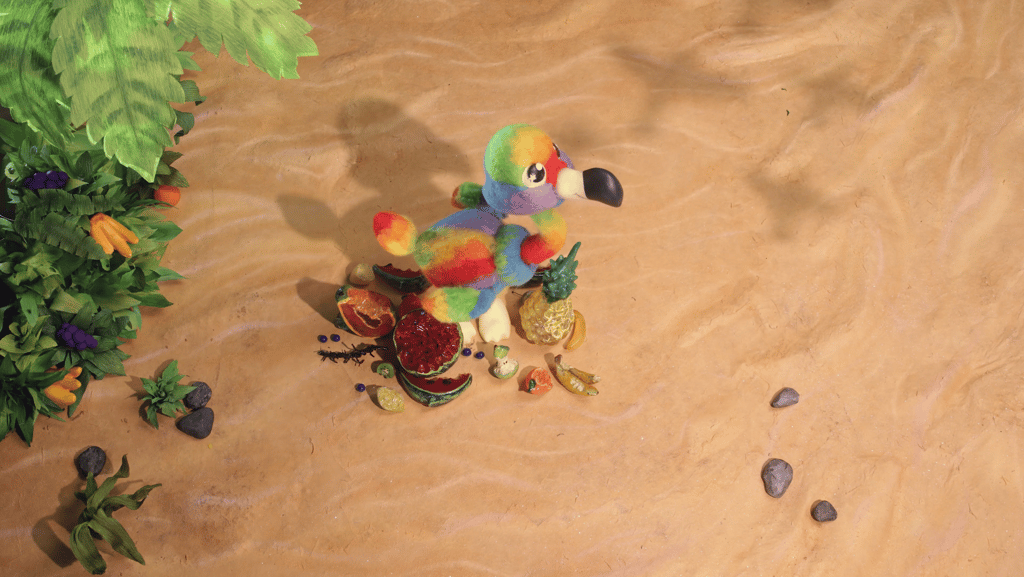
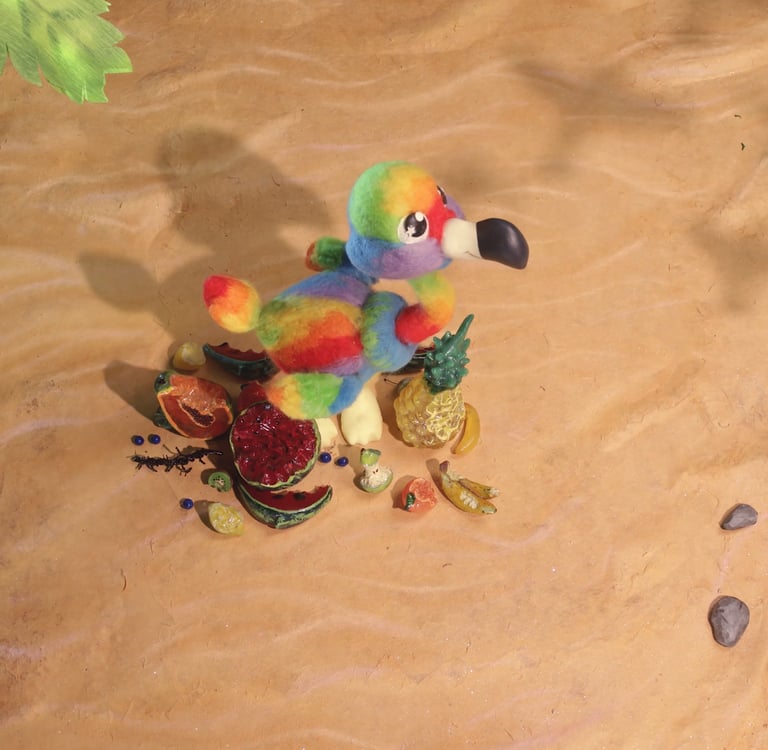
To achieve the effect of a birds shadow flying by a lighting cookie was used. The cut outs where then attached to a unified rig system that allowed the birds cut outs to travel as a group down a slider, while still being able to move independently to create variety in the motion. Double exposure of the shot was captured so we could comp out the shadows of the rigging system.